Modification Series. St. Brigid. Part III.
Finally on the needles!
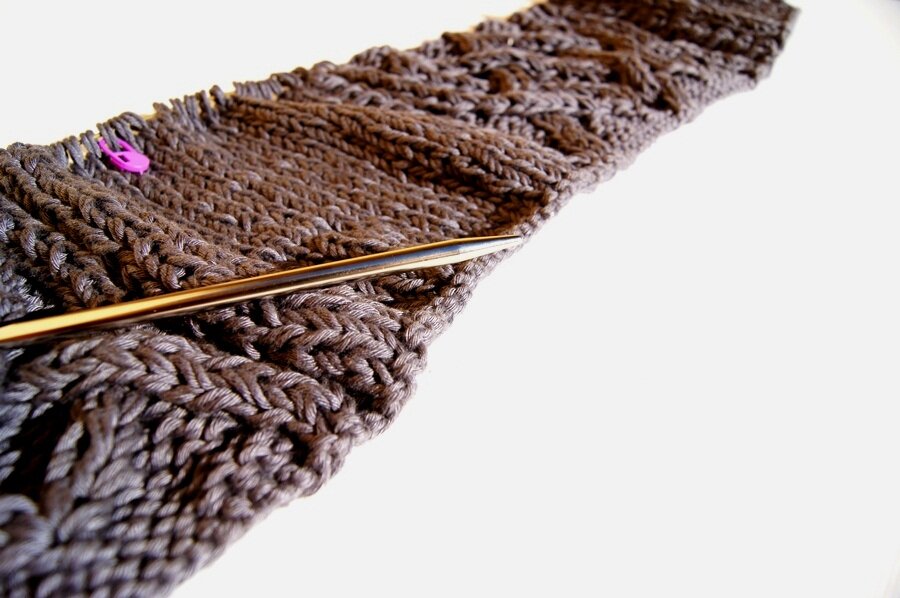 After trying dozens of different stitch combinations for a horizontal band, I decided to knit the cardigan first and then trim it either with attached I-cord or crochet. All other options seemed too "heavy" for the hem.Usually I try to avoid seamless construction, in my opinion seams add more structure and shape to the garment,but this time I decided to skip the side seams and knit the body in one piece. The cable panels will "hold" the cardigan without side seams.
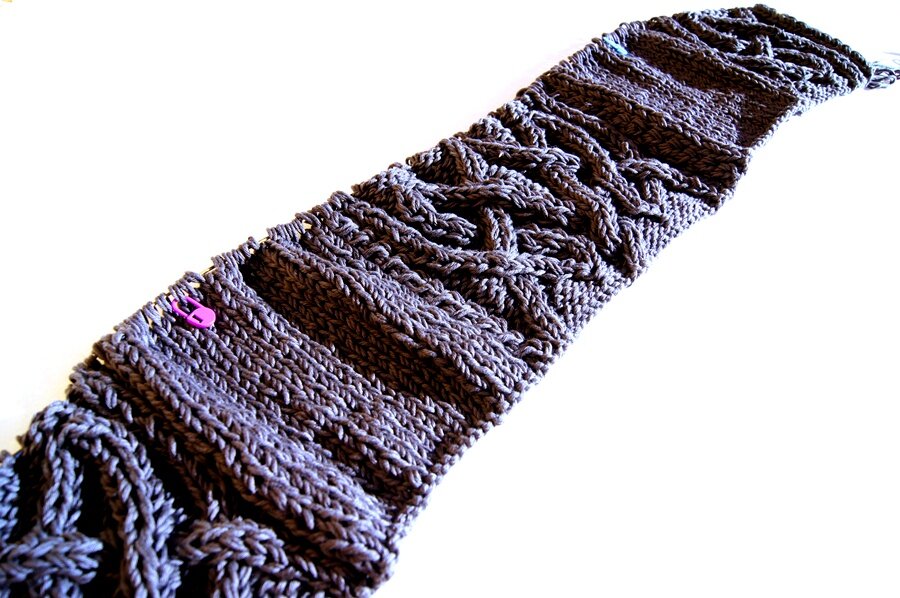
The main cable panel and two small cable panels are covering only the part of the cardigan, the rest is filled with stockinette stitch.
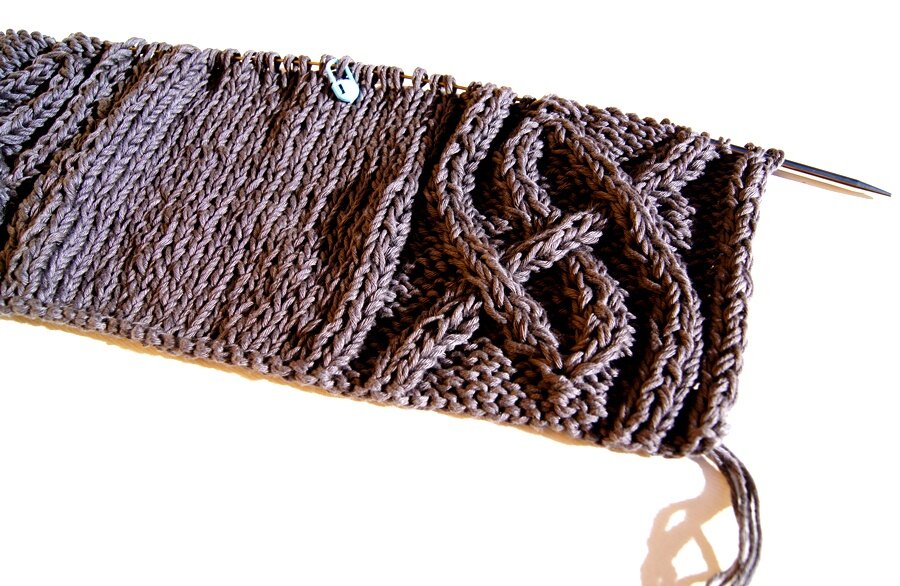
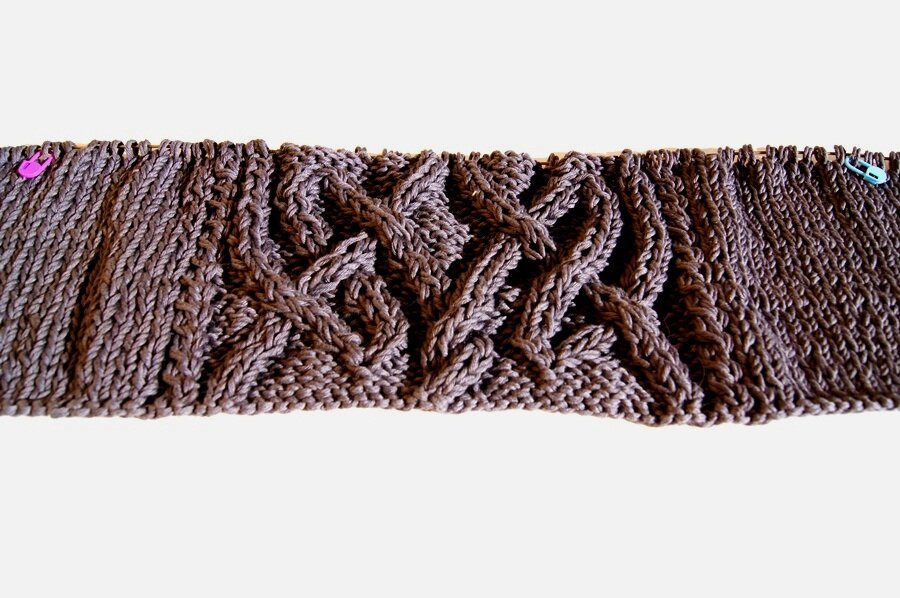 Basically the stockinette "space" is where all the shaping is going to happen. It will allow to do all necessary decreases/increases without interfering with cables. It's a universal cable garment formula that I always use.1. Determine how many centimeters/inches you need to get at the end.For example, 90 cm/35"2. Make a swatch of each cable panel. Measure it.Mine were 12.4 cm/4.88" (small) and 28.8 cm/11.34" (main)3. Subtract from the first number the sum of all cable panels. In my case it was the main cable panel + 2 small cable panels.For example, 90cm - (12.4 cm + 12.4 cm + 28.8 cm) = 36.4 cm/14.3"4. Convert this number to stitches according to your gauge. And then "spread" this number of stockinette stitches evenly between the cable panels.I am still not sure about the length of the cardigan. The cables are really "eating" the yarn. I'll wait when the first skein is over to determine the total length.To be continued...