Modification Series. St. Brigid. Part II.
The first part can be found here - Modification Series. St. Brigid. Part I.
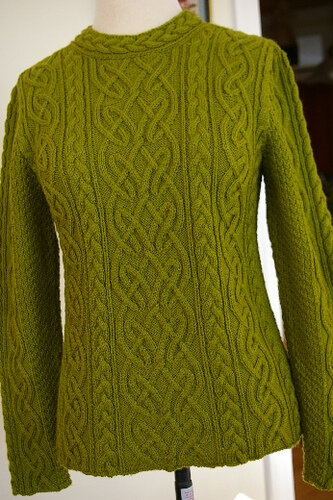
Original
 We are done with swatches. The next step is to "put" these cables on the garment. Warning: I am an awful, awful drawer/sketcher. All my childhood I was drawing cows that looked like dogs with hooves to everybody else except me. But, believe me, even the worst sketch really helps to have much more clear idea of what you want to get in the end. Here is mine.
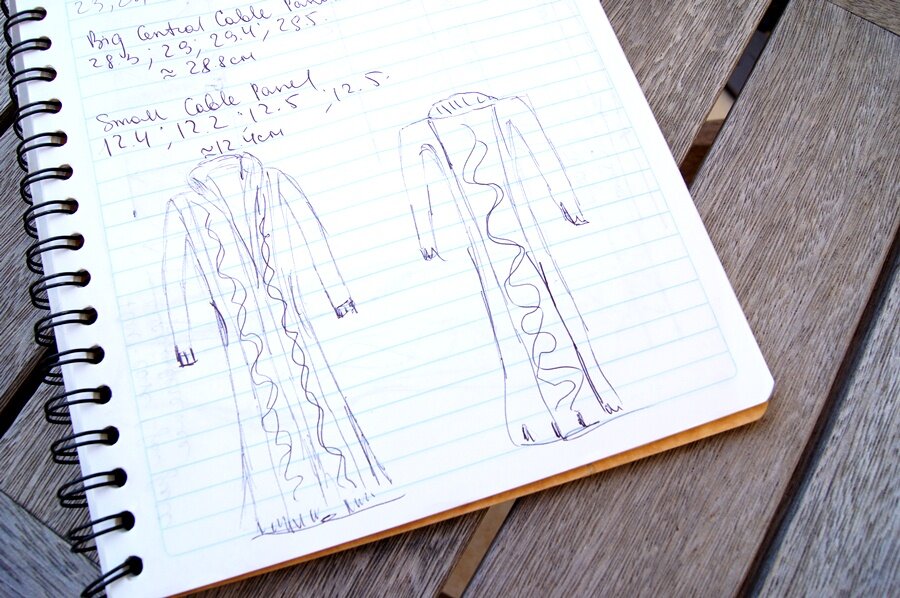 I cannot rely on my drawing skills, but I really hope you see the same thing that I do. Anyway my idea is to put the main cable panel (#1) on the back of the cardigan and a small cable panel (#2) - on both sides along the front openings of the cardigan.
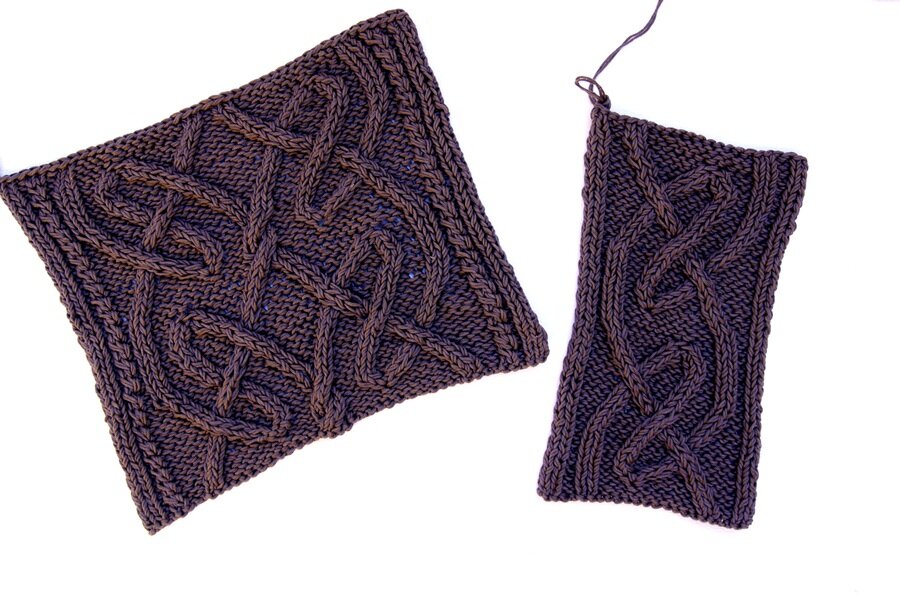 As you can see I put the additional cable on both of the sides of the main cable panel to "frame" it a little bit more.One more thing to think about - the stitch pattern for horizontal and vertical bands of the cardigan. I cast on 20 stitches and tried different stitches and then put each of it next to cable panels to check if they look aesthetically pleasant.
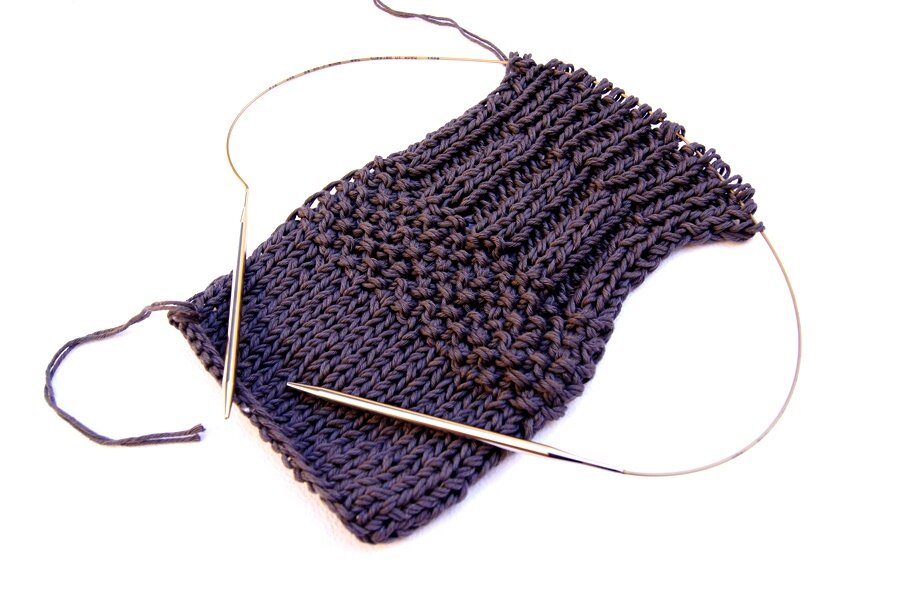 This is the hardest part for me. I started knitting with garter stitch - ripped it off, seed stitch - ripped it off, then moss stitch - ripped it off... As soon as I figure it out what I want, I'll cast on. Finally!To be continued...Part I.Part III.