How to Knit Jogless Textured Stripes in the Round

cable cardigan pattern
cable-cardigan-pattern-tutorial-1
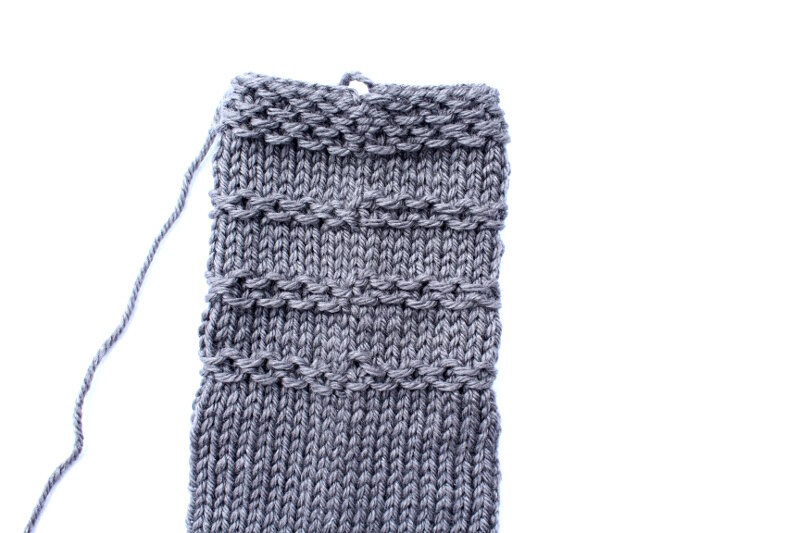
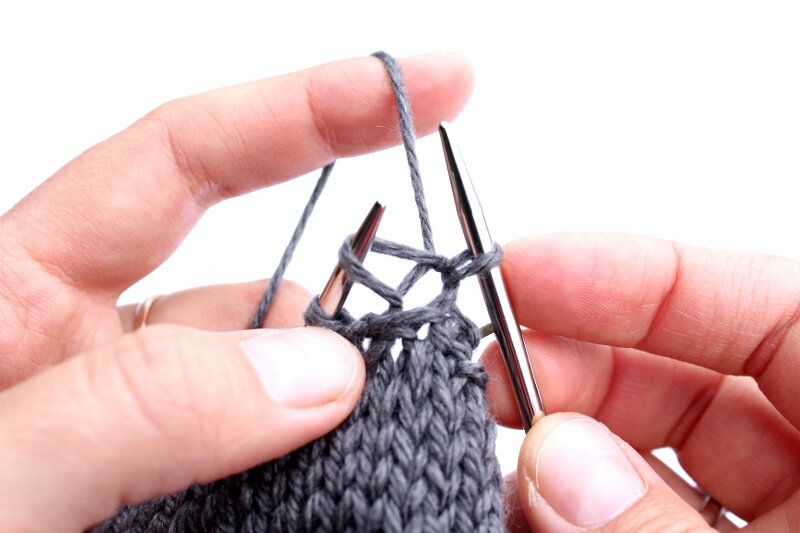
There are many benefits for the knitter to knit the garment in the round - you can try the piece on as you knit, making adjustments if necessary, you can experiment and sneak in modifications as you go, and of course you avoid seaming. But knitting in the round isn't always flawless and problem-free. One of the main drawbacks of knitting in the round is the fact that the first and last stitches of the round are not perfectly aligned, as in flat seamed knitting. Usually it's not a problem if you knit simple basic stitch patterns, but it becomes pretty noticeable when you create stripes, whether color or textured. The jog appears in the place where the last stitch of the round and the first stitch of the next round meet.It's not the end of the end of the world, of course. If the stripes are on the sleeves, for example, the jog will appear in the place of a "seam" and there is a great chance that only you will ever know it's there - nobody is going to pay that much attention to your sweater :) But if it is still bugging you, you can try this tutorial that I made for Reindeer cardigan that will help you minimize the jog. If you want to see a bigger picture, just open it in the new tab.
JUNE 2021 UPDATE. Video version of the tutorial is on my knitwear YouTube channel.

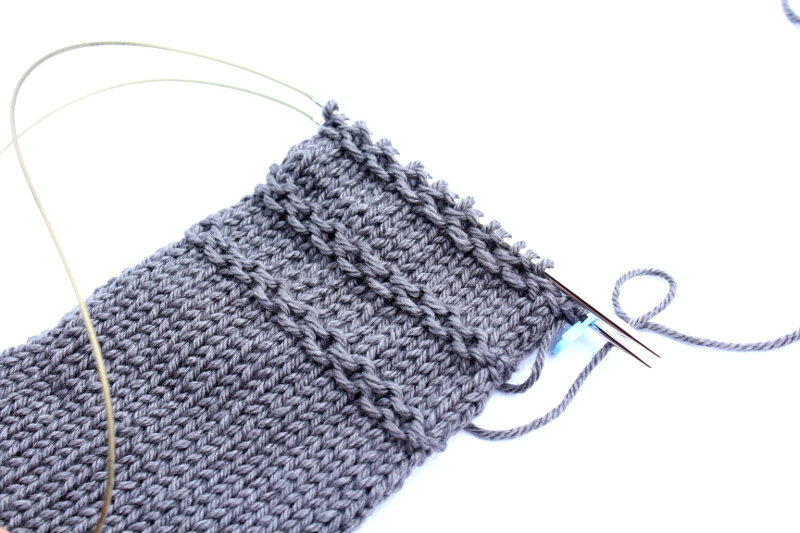
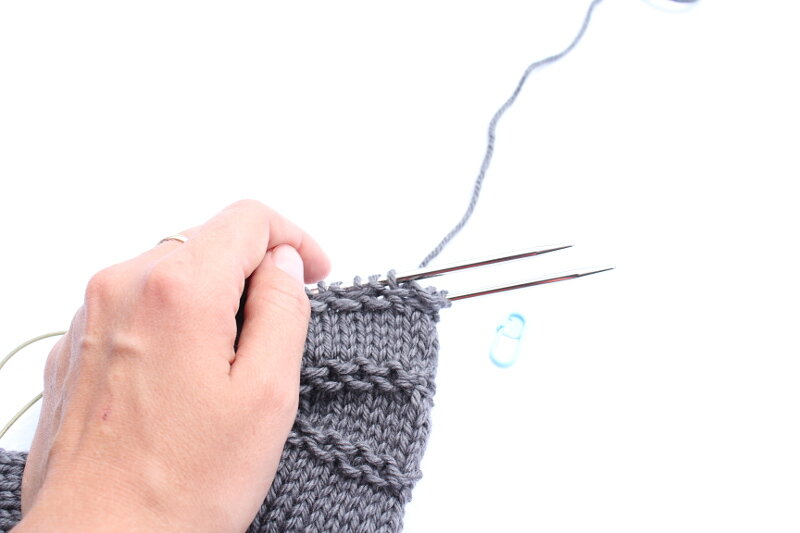
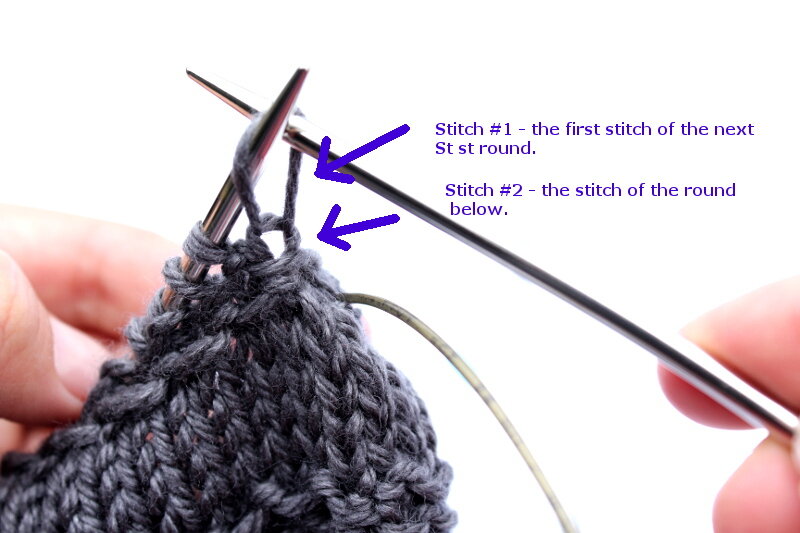
TUTORIAL
cable cardigan pattern

cable cardigan pattern
cable cardigan pattern

cable cardigan pattern
cable cardigan pattern

cable cardigan pattern
cable cardigan pattern

cable cardigan pattern

cable cardigan pattern

cable cardigan pattern

Cable Cardigan Pattern
Basically what we did is we "pulled up" one stitch at the beginning of the round and made it the last stitch of the round, which aligned the last and first stitches of the textured stripe. Use this technique every time when you change a stitch pattern.
I hope you find this tutorial helpful in many projects!
Enjoy your Sunday!
RELATED POSTS

how to make a sweater on a knitting machine

Cable Cardigan Pattern