How To Pick Up Stitches for the Raglan Sleeve and Avoid Holes in the Underarm

Happy Sunday, dear friends! Today I decided to show you my little trick that I use to avoid holes in the underarm when picking up stitches for the raglan sleeve. When I knit my first raglan, I religiously followed the pattern instructions, which said to pick up cast on stitches in the underarm and at the end to sew small holes. I did sew the holes, but every once in awhile the sewed in holes become holes again. I struggled a lot with them and thought there had to be a way to avoid these holes altogether and not bother closing them up after you are done knitting. After experimenting I came up with the solution that I now use every single time when knitting the raglan. It never failed me once! I hope you will find it helpful as well and will get rid of these pesky underarm holes once and for all.
At first let's see what happens when you pick up stitches the "traditional" way. Usually when you divide the body and sleeves, you are instructed to cast on x number of stitches between the front and the back. For example, the instructions would look something like this:
Body and Sleeves Separating: Work front xxx sts to marker, remove marker, place xxx sleeve sts on waste yarn, cast on 6 sts, work back xxx sts to marker, remove marker, place xxx sleeve sts on waste yarn, cast on 6 sts, work front xxx sts.
When you are done with the body, you usually get back to the sleeves. This is how it looks like, more or less. You can see the little "knobs" on each of 6 cast on stitch.
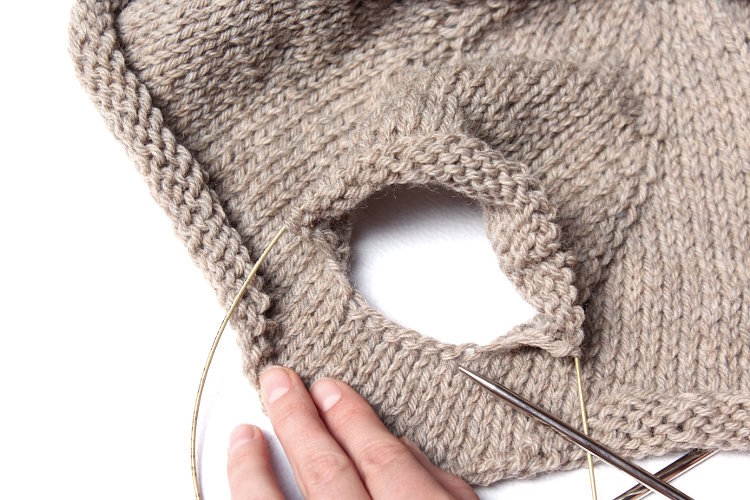
This what usually happens next, if you follow the instructions.
Click on the photo to enlarge it and read the full description

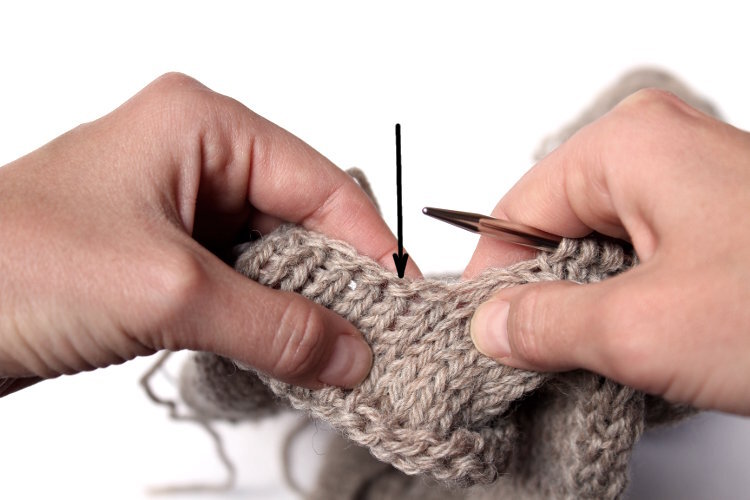

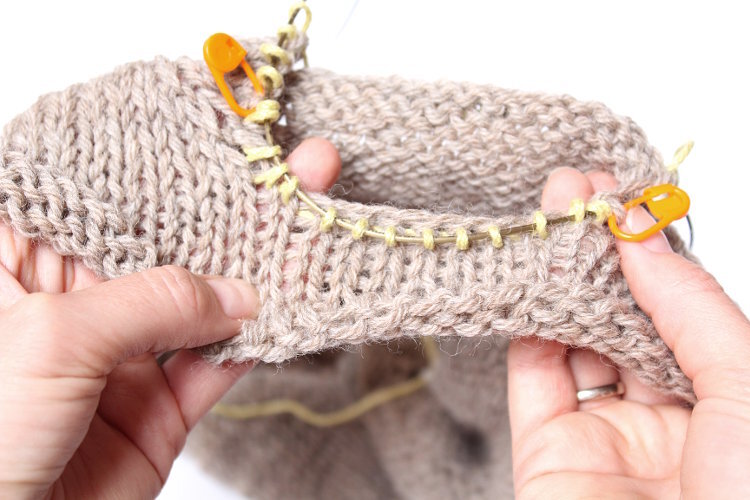
Now let's see how we can avoid it altogether. I am going to use the yarn in the contrasting color for demonstration purposes.
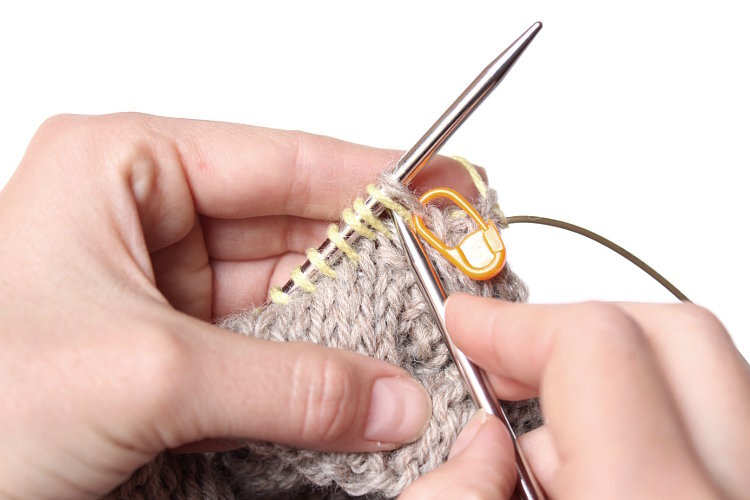
How to pick up the stitches for the raglan sleeve
Click on the photo to enlarge it and read the full description


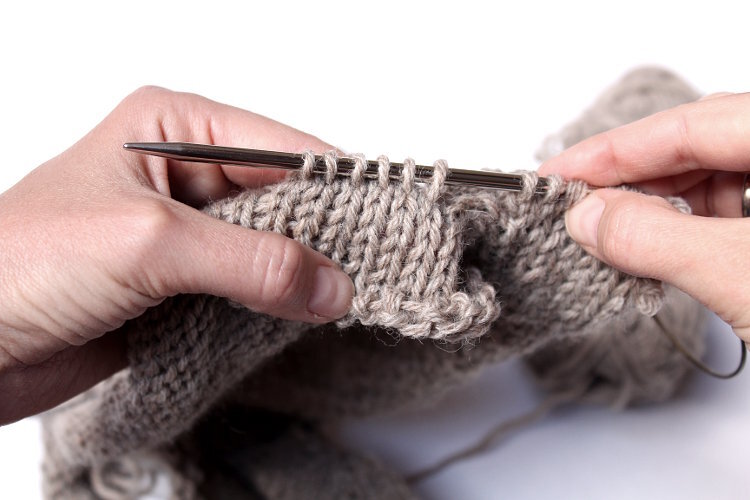
After you picked up all the stitches needed, continue knitting the first round:
We can't just continue working in the round as usual, because we have 8 extra sts on the needles and it will drastically change the size of the sleeve. So, we need one more step before we can continue our sleeve as usual. In order to come back to the instructed 6 underarm stitches, we need to decrease all the extra sts on the next round.
Click on the photo to enlarge it and read the full description


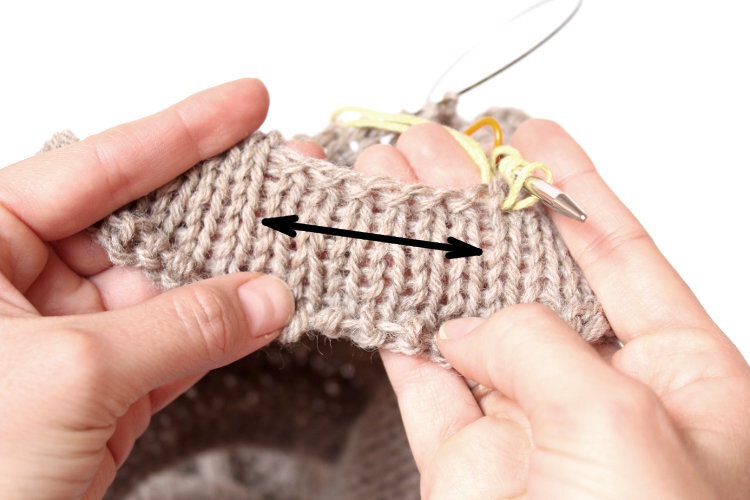
Now let's knit a couple of rounds and take a look at the underarm:

Ta-daaam! No holes! And the number of sts is exactly the same as indicated in the pattern instructions! You can use this little trick with any raglan sleeve instructions. Important to remember: there is no certain rule how many extra sts need to be picked up. The number of picked up extra sts can vary - sometimes you need 4, sometimes 5, sometimes just 2 is enough. You will have to watch your fabric and see if all the holes/gaps are closed. And always decrease all the extra sts to come to the number of sleeve sts indicated in the pattern.
If you have any questions, feel free to ask them in the comments!